Go Back
+ servings
Pine Cone Turkeys

Adorable Pine Cone Turkeys to Brighten Your Thanksgiving Decor

Create delightful Pine Cone Turkeys for your Thanksgiving decor using colorful materials and easy instructions.
Prep Time 30 minutes
Total Time 30 minutes
Servings: 4 turkeys
Course: Snacks
Cuisine: American

Ingredients
  

For the Turkeys
  • 1 cup Pinecones Dry for better paint adhesion
  • 3 bottles Matte Acrylic Craft Paint (orange, yellow, red) Easily found at craft stores or dollar stores
  • 3 sheets Craft Paper Scraps (orange, yellow, red) Perfect for crafting unique beaks and wattles
  • 3 pieces Pipe Cleaners (orange, yellow, red) For legs and facial features
  • 5 pieces Googly Eyes (15mm or 0.6-inch) Adds personality to each turkey
For the Assembly
  • 1 bottle Hot Glue or Craft Glue Essential for securing all parts

Equipment

  • Brush
  • Hot glue gun

Method
 

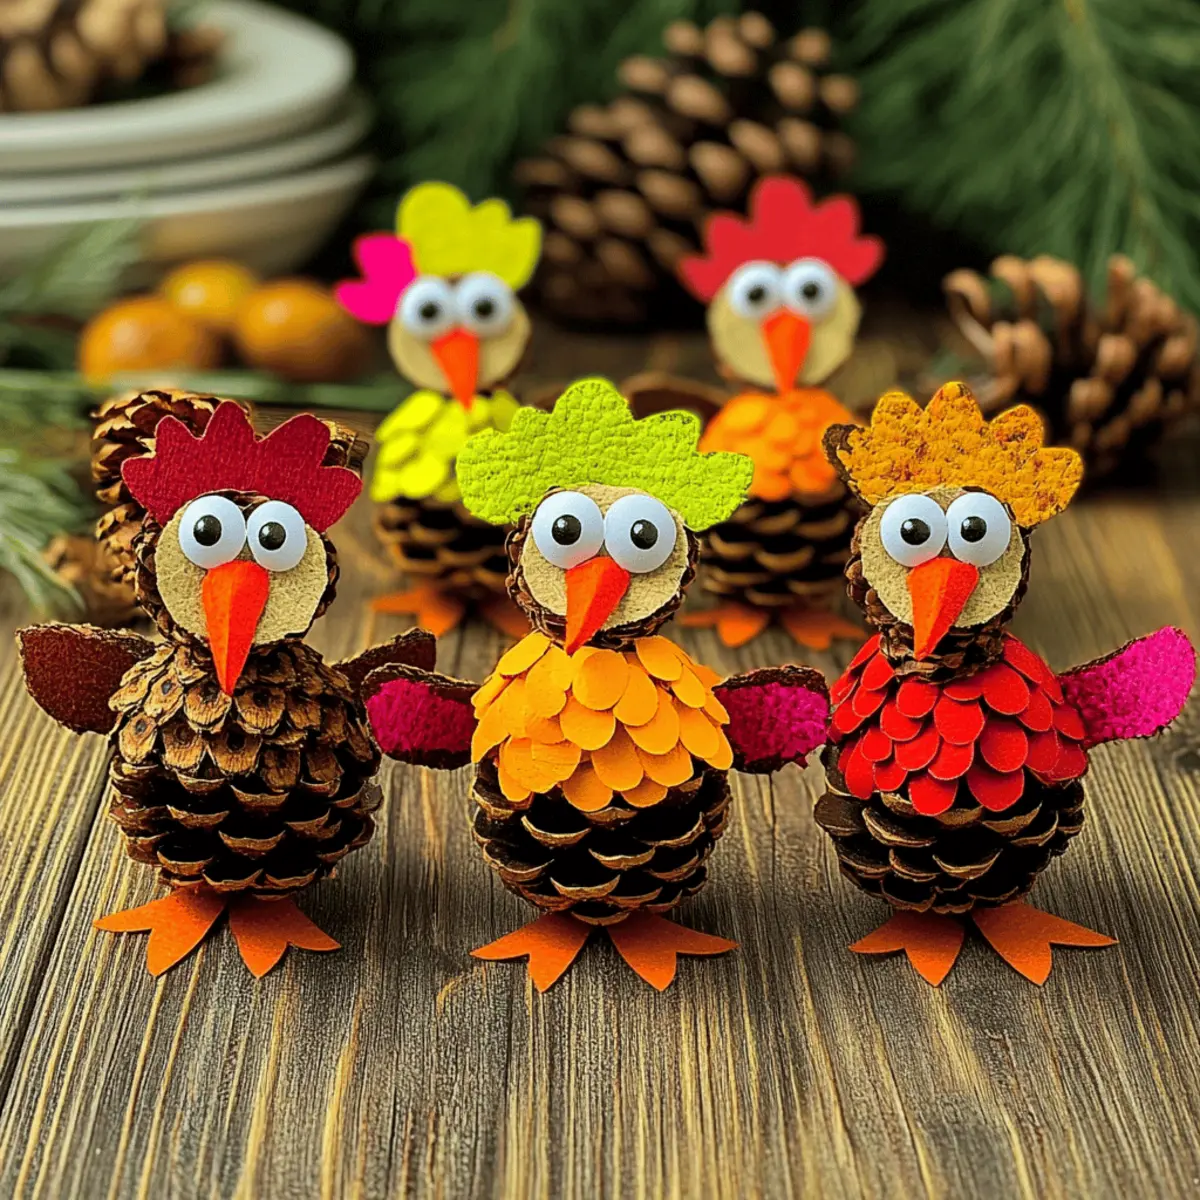
Step-by-Step Instructions for Pine Cone Turkeys
  1. Step 1: Paint the Feathers - Lay down newspaper, paint the tips of the pinecones with vibrant colors. Let dry for 15-20 minutes between colors.
  2. Step 2: Create the Legs - Bend a pipe cleaner into a U-shape for legs, glue to the base of the painted pinecone.
  3. Step 3: Shape the Faces - Curl a pipe cleaner into a flat spiral, cut out beaks and wattles from craft paper, glue on googly eyes and facial features.
  4. Step 4: Assemble the Turkeys - Use hot glue to attach the face to the pine cone, adjusting as necessary.

Nutrition

Serving: 1turkey

Notes

Encourage creativity by experimenting with different colors and designs for your Pine Cone Turkeys.

Tried this recipe?

Let us know how it was!